
App, Ready, Exit?
Side-Quest: 🧙♂️ WanderWise
Side-Quest-Tracked
I got side-tracked! I had the opportunity to share snackable content, but for some reason, posting on another platform felt more convenient. However, I'm revaluating my approach.
If you're like me and struggling to develop a writing habit, how did you manage to overcome it?
Regardless, I've compiled some valuable insights from my experience building my Exit-Ready App using the free plan only features on Glide.
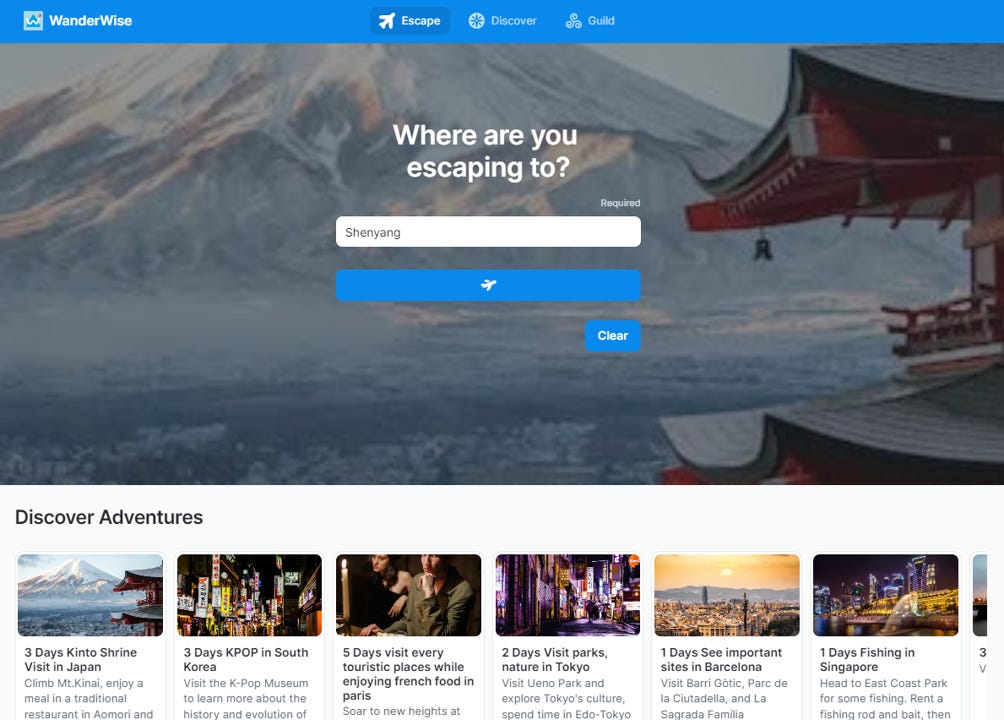
WanderWise is a travel app that utilizes AI technology to generate personalized itineraries for spontaneous adventurers. With the help of the AI Travel Wizard, user tailor their itinerary to their desires and experience the best of each destination.
12 Good Glide Practice, includes a ChatGPT cheat!
1. Use A Container Component
To avoid the button component from stretching too wide, use a Container with a 3 column layout. Place the components in the middle column.

2. Name Your Components
Do you name your components? Yes you should and also group them within a container, name the container also.

3. Take The Extra Mile Using Action
If user was redirected from an overlay screen to another tab.
Set the Action first to Close overlay, this will prevent user from viewing the overlay when they return to the previous tab.
Provide a fall back using Show notification, this helps with identifying issues when you action doesn’t run.

4. Non Accent Secondary Button
To set a button with non accent colour, create an empty action then move the primary action down.

5. Create Empty States
Just in case your ChatGPT prompt or API doesn’t load. Build empty state with gif or a simple message, Add button to redirect user back to their intended experience.

6. Show First Then Onboard
Show new/public user the feature first (e.g Save Itinerary) then ask if they would like to sign up to use the feature.

7. Be Specific With ChatGPT Prompt
ChatGPT did not close the output correctly and resulted in an invalid output. Write specific prompt: "Ensure quotation mark at the end of the location coordinates."

8. Build In Visit Tracker
Track a specific button click. Create a number column, name it [Visited]. Create an Action with Increment number of Visited by 1. Assign the Action to the button.
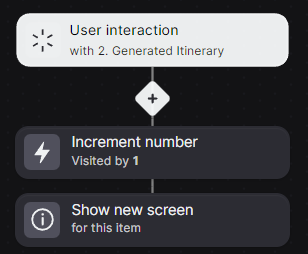
Extra: Build a beautiful dashboard to display the insights!

9. Hard lesson: Enable User-Specific Column
Discovered only later that WanderWise app requires User-specific columns to create unique search entries for non-sign in and sign in users.
For values that will be modified by many users, enable User-specific column.
Thankfully the switch was manageable.

10. Conditional Considerations
Sometimes instead of an IF Else Then column, let's not complicate things and just use 2 buttons with conditions to prevent confusion. Conditions can be set in Glide table Component Options User Interaction (New)Action Choose wisely, Plan ahead.

11. User Profile Page and Menu Tab
Consider what should be presented on the User Profile Page. I use it to display the Saved Itinerary collection but I realised I could have a individual page for Saved Itinerary and place it under the Menu.
This will free up the User Profile Page for more User information related stuff.

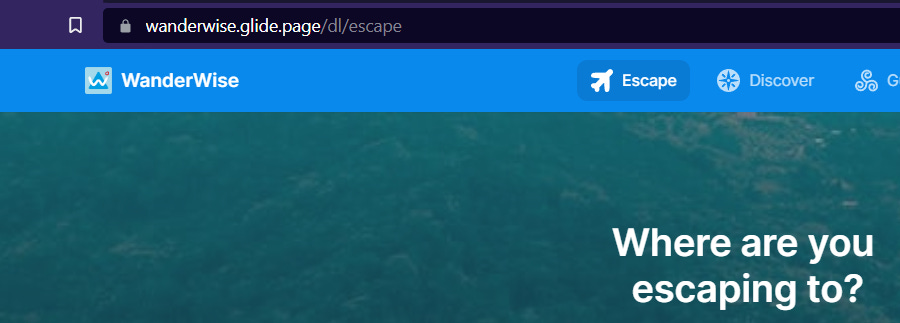
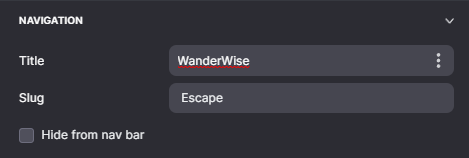
12. Slug
Personalise URL Slug under Options Tab > Navigation
Your URL will look like this: https://wanderwise.glide.page/dl/escape
Share Your Thoughts, Shape WanderWise
I want to express my sincere gratitude for joining me on this journey.
I must admit, building Exit-Ready projects can be challenging and full of distractions. However, I truly hope that these guidelines have provided you with the knowledge to navigate those obstacles and create better Exit-Ready apps.
Next step will be gathering review and preparing my pitch for the #NoCodeExit Sale event.